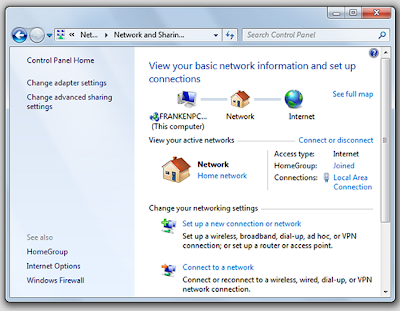
 |
| WINDOWS 7 |
Setting up a new wireless connection on your Windows 7 laptop allows you to work from anywhere you can get a signal. That makes it easier to get things done, no matter where you need to move within your home or office.
Windows 7 makes it easy to set up a connection to an existing wireless network. Just follow the steps outlined below.
1. Click the Start button
2. Then Control Panel from the menu
3. Click Manage Wireless Networks icon and choose Add
4. Choose Manually create a network profile
5. Enter the name, security type and type of encryption for your wireless network
6. Click Next then select Change connection settings
7. Go to the Security tab and set the network authentication method used on your wireless network
8. Uncheck the box that says Remember my credentials unless you want the laptop to retain those settings
9. Click OK to confirm your settings
When you click OK, the laptop should automatically try to connect to your wireless network. Contact the systems administrator at your workplace or the technical support number for your ISP if the network doesn't connect after a few minutes. If you are connecting through a DSL or cable modem and wireless router, you might want to power cycle both devices prior to calling for service. Resetting the modem and router often resolves problems with wireless networking.


